
In Azure App Configuration, we can implement feature flags that allows us to decouple feature releases from code deployment and allows us to implement changes quickly to feature availability on demand. This allows us to test new features in production, turn features on or off without having to redeploy our code and wrap features around application functionality that we’re currently developing.
There are some basic concepts to understand when working with feature management in Azure App Configuration:
- Feature Manager - This handles the life cycle of all feature flags in our application.
- Feature Flag - This really is a variable with a binary state of on or off. Feature flags also have code blocks associated with them and will trigger depending on the state of our feature flag.
- Filter - We use filters to evaluate state of a feature flag. We can use filters at a variety of different scopes, such as a group of users, devices or geographical locations.
In this article, we’ll be setting up our Azure App Configuration store, create a feature flag and then create a Azure Function in C# that will execute code depending whether our Feature Flag is enabled or not.
If you want to follow along with this article, you’ll need:
- An Azure Subscription.
- Visual Studio 2022 with the Azure Development workload.
If you want to browse the code and follow along, the sample is available on my GitHub.
Creating our Azure App Configuration store.
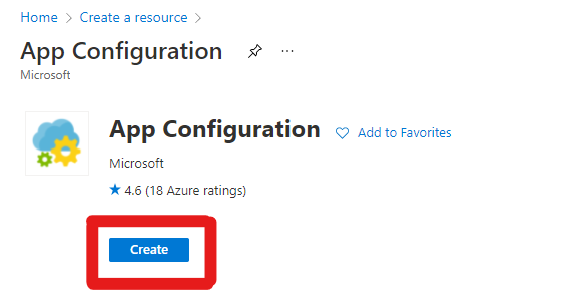
Let’s start off by creating our Azure App Configuration store. Sign into Azure and select Create a resource, in the search box, enter App Configuration and select App Configuration from the results:
When we configure the App Configuration store, enter the following settings:
| Setting | Suggested Value | Description |
|---|---|---|
| Subscription | Your Subscription | The Azure subscription that you’ll deploy the App Configuration store to. |
| Resource Group | azureappconfig-rg | The resource group for our App Configuration store. |
| Resource Name | nameofyourappconfig | The name of your App Configuration store. This has to be globally unique, between 5 and 50 characters and contain only numbers, letters and the - character. |
| Location | Australia East | The geographic location to host your App Configuration store. |
| Pricing tier | Free | The pricing tier for your App Configuration store. You can learn more about App Configuration pricing here. |
Click Create to create your Azure App Configuration store. Give it a couple of minutes and it’ll be ready to go. One we’ve deployed our App Config store, we can create our feature.
Creating a Feature Flag.
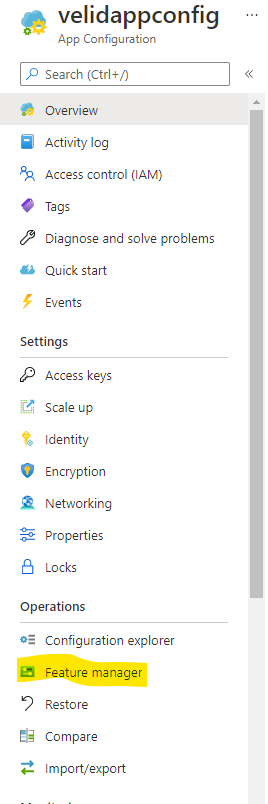
Once our App Config store has been deployed, navigate to it and you look for Feature manager under the Operations section.
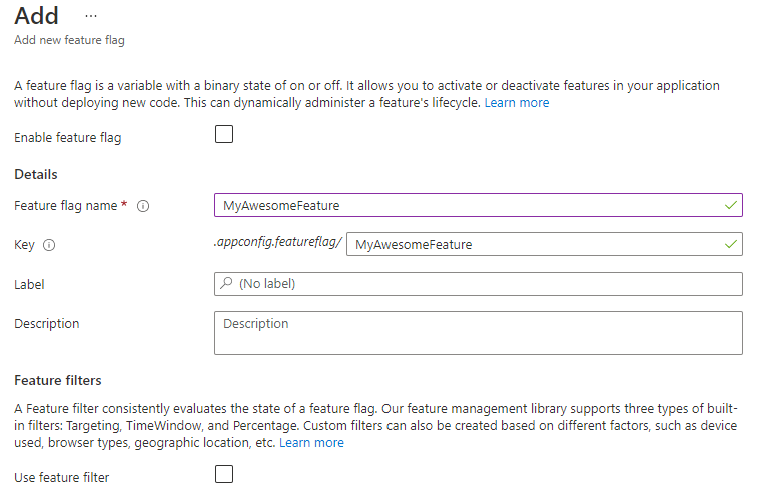
In Feature manager, click on the + Add and let’s create a feature flag called MyAwesomeFeature. Click on Apply to create the new feature flag:
Now that our feature flag has been created, we can implement it in our code! Let’s create a Azure Function to do this.
Implementing our Feature Flag in our Functions App code.
To implement our feature flag capability, we’ll need to create a Function app, connect it to our App configuration store and then write some code that will execute depending on whether or not our feature flag has been enabled.
Creating our Function App
To create our Function, we need to do the following:
- Open up Visual Studio and from the menu, create a new project.
- In Create a new project, choose the Azure Functions template and select next.
- Enter a project name, choose a directory and select Create.
- Use the following values when creating a new Function:
| Setting | Value |
|---|---|
| .NET Version | .NET 6 |
| Function template | Empty, we’ll build this from scratch |
| Storage account (AzureWebJobsStorage) | Storage emulator |
- Select Create to create the function project.
Connecting to App Configuration
Let’s dive into some code. We’ll need to install the following NuGet packages in our Functions App:
- Microsoft.Azure.Functions.Extensions
- Microsoft.Extensions.Configuration.AzureAppConfiguration
- Microsoft.FeatureManagement
I used the latest versions for this demo.
Once we’ve done that, let’s create a new class for our Function Startup and write the following code:
using FeatureFunction;
using Microsoft.Azure.Functions.Extensions.DependencyInjection;
using Microsoft.Extensions.Configuration;
using Microsoft.FeatureManagement;
using System;

[assembly: FunctionsStartup(typeof(Startup))]
namespace FeatureFunction
{
    public class Startup : FunctionsStartup
    {
        public override void Configure(IFunctionsHostBuilder builder)
        {
            builder.Services.AddAzureAppConfiguration();
            builder.Services.AddFeatureManagement();
        }

        public override void ConfigureAppConfiguration(IFunctionsConfigurationBuilder builder)
        {
            builder.ConfigurationBuilder.AddAzureAppConfiguration(options =>
            {
                options.Connect(Environment.GetEnvironmentVariable("ConnectionString"))
                       .Select("_")
                       .UseFeatureFlags();
            });
        }
    }
}
Let’s break this code down:
- We’re using Dependency Injection for our Function and adding Azure App Configuration as an configuration source.
- Within the
ConfigureAppConfigurationmethod, we callAddAzureAppConfigurationto use App Configuration as our config source and add theUseFeatureFlags()method to load our feature flags. - The
Select("_")method loads just our feature flags. If we wanted to load configuration alongside our feature flags, we would use a different key to select them. This is just a dummy key. If you omit theSelect()method entirely, all configuration will be loaded into your Function. - In our
Configure()method, we then add our App Configuration service and feature manager through Dependency Injection.
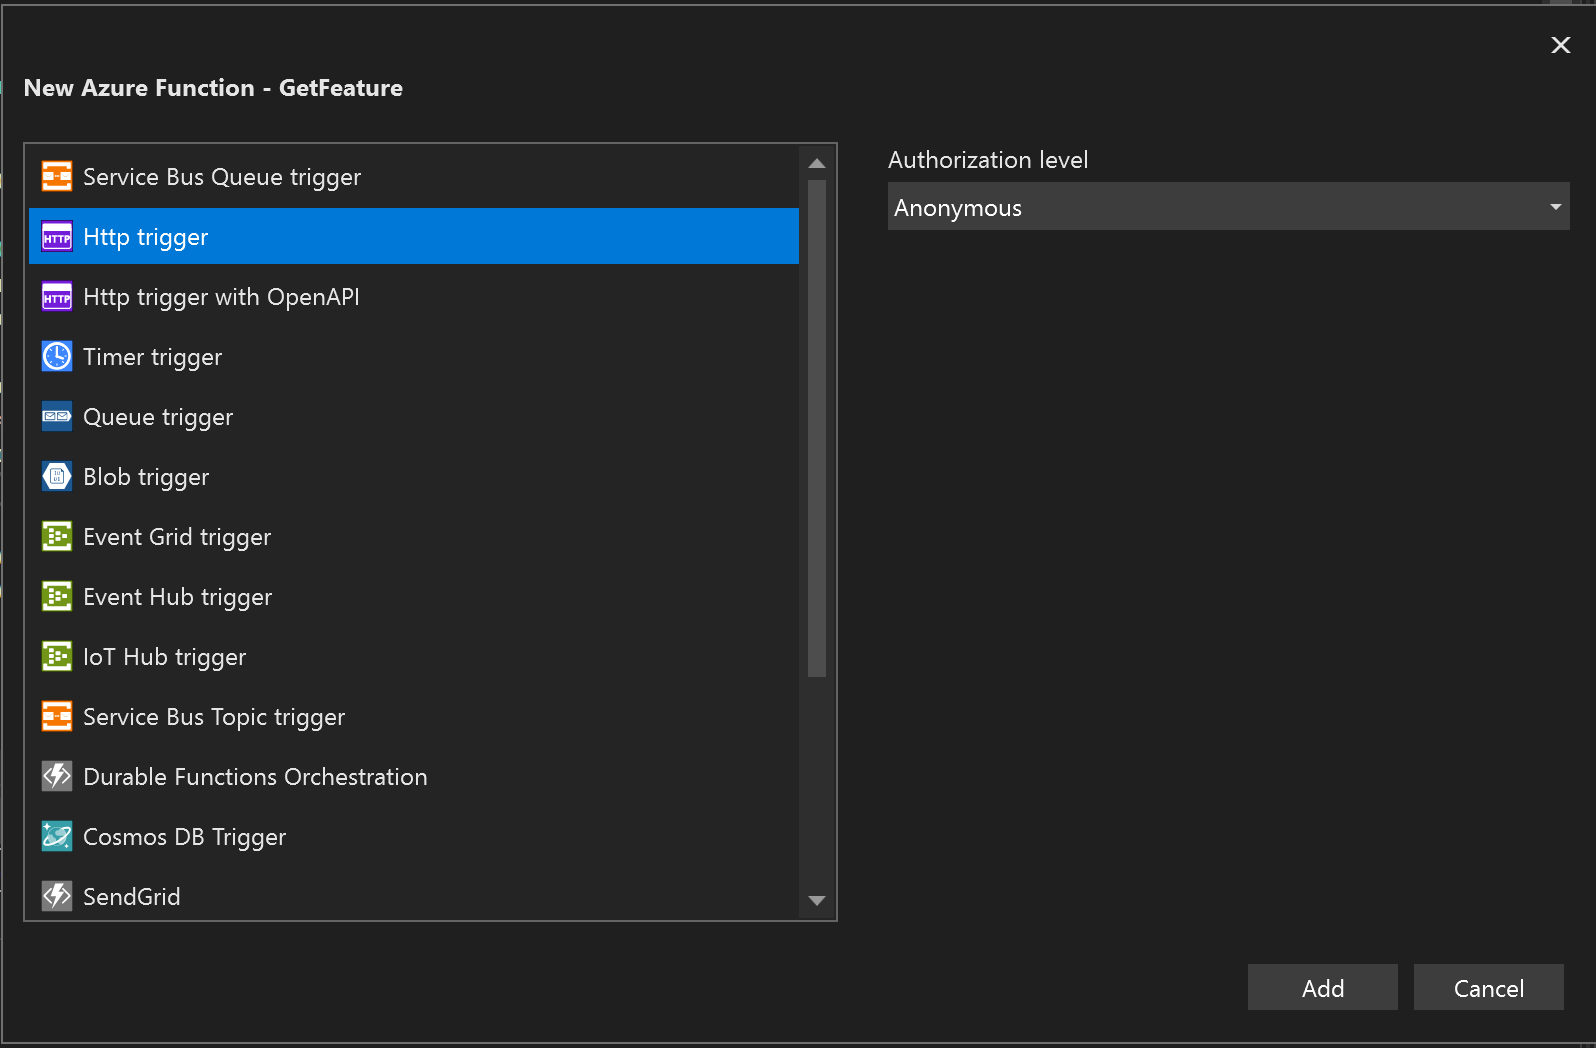
Now that we’ve set up our Startup file, we can now create our Function. We’re going to be creating a HTTP trigger which makes a simple GET call to our Function endpoint.
I’ve created a folder within my solution to store my function (you don’t have to do this, I just do it for my own benefit 😂). Right-click the folder or solution in Visual Studio and select Add Function.
In the dialog popup, select HTTP trigger and set the Authorization level to Anonymous. Click Add to add your function.
Once that’s done, we can write the following code:
using Microsoft.AspNetCore.Http;
using Microsoft.AspNetCore.Mvc;
using Microsoft.Azure.WebJobs;
using Microsoft.Azure.WebJobs.Extensions.Http;
using Microsoft.Extensions.Configuration.AzureAppConfiguration;
using Microsoft.Extensions.Logging;
using Microsoft.FeatureManagement;
using System.Linq;
using System.Threading.Tasks;

namespace FeatureFunction.Functions
{
    public class GetFeature
    {
        private readonly IFeatureManagerSnapshot _featureManagerSnapshot;
        private readonly IConfigurationRefresher _configurationRefresher;

        public GetFeature(IFeatureManagerSnapshot featureManagerSnapshot, IConfigurationRefresherProvider configurationRefresher)
        {
            _featureManagerSnapshot = featureManagerSnapshot;
            _configurationRefresher = configurationRefresher.Refreshers.First();
        }

        [FunctionName(nameof(GetFeature))]
        public async Task<IActionResult> Run(
            [HttpTrigger(AuthorizationLevel.Anonymous, "get", Route = "Feature")] HttpRequest req,
            ILogger log)
        {
            await _configurationRefresher.RefreshAsync();
            string message = "MyAwesomeFeature has been disabled!";

            if (await _featureManagerSnapshot.IsEnabledAsync("MyAwesomeFeature"))
                message = "MyAwesomeFeature has been enabled!";

            return (ActionResult)new OkObjectResult(message);
        }
    }
}
Let’s break this down:
We first create a constructor to inject our services for both our configuration and feature manager:
private readonly IFeatureManagerSnapshot _featureManagerSnapshot;
private readonly IConfigurationRefresher _configurationRefresher;

public GetFeature(IFeatureManagerSnapshot featureManagerSnapshot, IConfigurationRefresherProvider configurationRefresher)
{
    _featureManagerSnapshot = featureManagerSnapshot;
    _configurationRefresher = configurationRefresher.Refreshers.First();
}
Then within our Function, we can call the RefreshAsync() to refresh any feature flags that are in our App Configuration. This method enabled us to disable and enable features within our App Configuration store without having to redeploy our code for the feature to take effect.
Feature flags have a default cache expiration of 30 seconds, but you can configure this to have a smaller or greater expiration period by setting the FeatureFlagsOptions.CacheExpirationInterval property when passing to the UseFeatureFlags method in your Startup.cs file.
We then have an if statement that checks to see if our feature has been enabled and if so, set the message to say that our feature has been enabled or not like so:
if (await _featureManagerSnapshot.IsEnabledAsync("MyAwesomeFeature"))
        message = "MyAwesomeFeature has been enabled!";
In this code snippet, we’re just checking the binary state of our Feature (whether it is enabled or not). Feature Flags can be targeted at specific users or groups or we can filter them by a percentage of users.
Now that our function code has been written, let’s test it out!
Testing our app
With our app written up, let’s test this out. First thing we’ll need to do is set an environment variable for our App Config connection string.
To get out App Config connection string, head back to your Config store in Azure and click on Access Keys under Settings. Here you’ll see both your Read-Write and Read-only keys. Copy your Connection String from the Read-Write section, this will be the value of our environment variable.
Once we have our connection string from App Config, we can set our environment variable in PowerShell like so:
$Env:ConnectionString = "YourAppConfigConnectionString"
Now that this has been set, Press F5 to test the function. After a short time, we’ll get a URL that we can hit to test our function, like so:
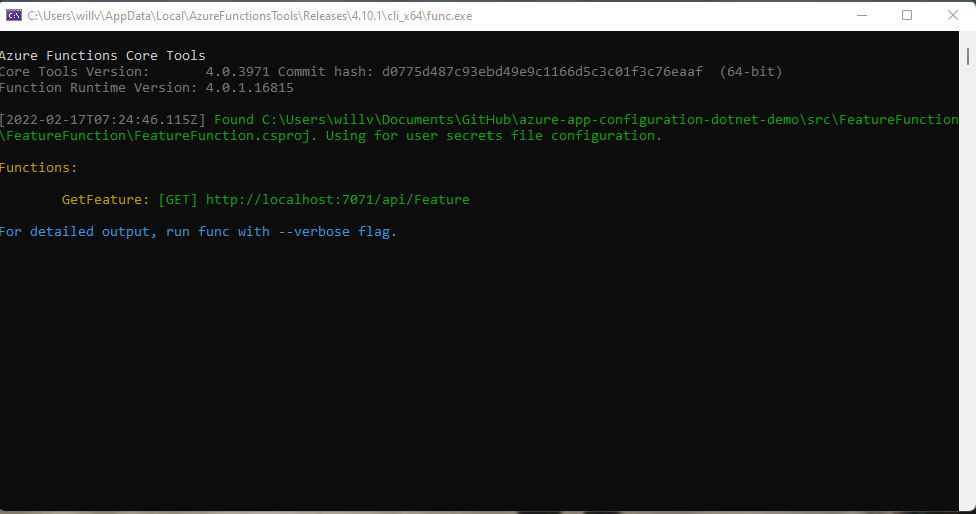
Open a browser and paste the URL into it. We’ll get the following output:
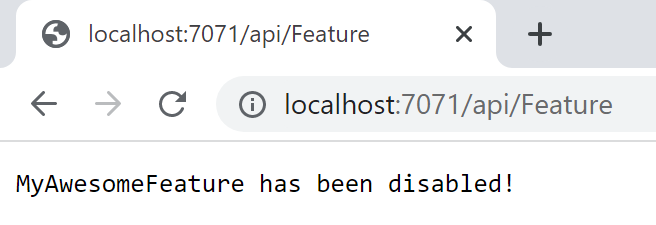
Awesome! Our code is working 😊 But it’s telling us that our Awesome Feature is disabled. When we create Features in App Configuration, we can choose to enable or disable them when created. Let’s enable the feature and test it out. In our App config store, go back into our Feature manager dashboard

With our feature flag enabled, let’s hit our endpoint again and see what happens:
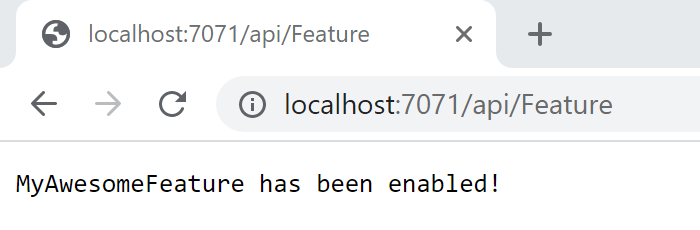
The code block that executes when our feature is enabled has been exectued!
This is a VERY simple example, but hopefully you can see that using Feature flags in App config, we can wrap functionality around features and enable them as we like without having to redploy our application code.
Wrapping up.
As you can see, we can use Azure App Configuration to implement feature flag functionality into our applications. It’s not just in Functions we can do this, we can also implement this in ASP.NET apps, .NET apps and Java Spring applications.
Managing our App Configuration and Feature flags as we have done in this article is a little cumbersome. Luckily we can use IaC tools such as Bicep to manage our feature flags for in a more programmatic way. I’ll show you how you can do this in a future article.
NOTE TO SELF: Write that article!
If you have any questions, feel free to reach out to me on twitter @willvelida
Until next time, Happy coding! 🤓🖥️